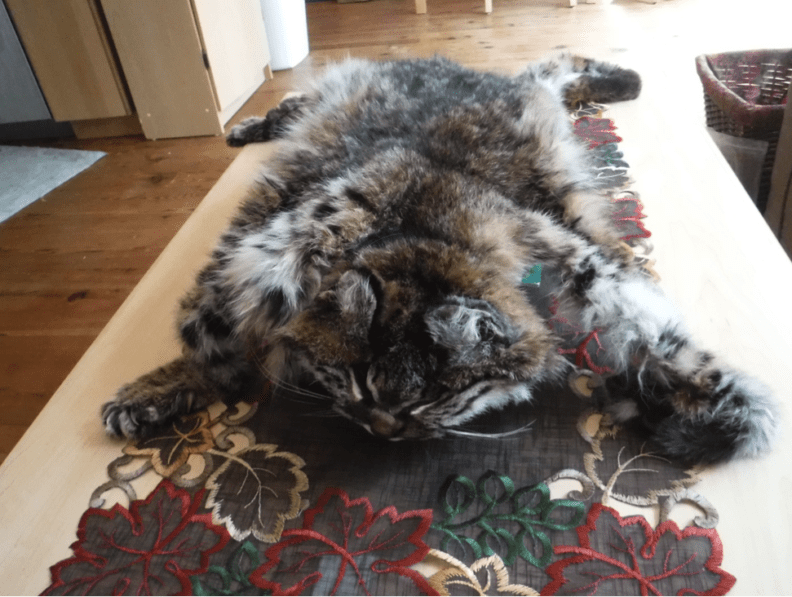
Skinning for Science: A Bobcat Casestudy
On Jan 5th, 2016 the residents of the Blue House (our Marblemount property) discovered a dead bobcat in the garage.
The cause of death was unknown, but no evidence of trauma was found. The carcass was quickly moved to the biological specimens freezer in the North Cascades Institute’s lab, where it has served as a great teaching tool for hundreds of Mountain School participants this year.

Holding up a bobcat

Bobcat found under bicycles in barn.
But for an item as popular as the bobcat, the freezer is not a very sustainable solution.
It is bad for the specimen to be constantly moved in and out of the freezer. Also, it takes up a lot of space – and there’s not much to spare in the freezer.
As the unofficial Natural History Collections Graduate Assistant, and a total biology nerd, I jumped at the opportunity to do a little taxidermy on the bobcat, so that it can be used as a teaching tool into the future. Here was my process:
WARNING: The following pictures show the process of skinning a bobcat and may not be for the faint of heart.
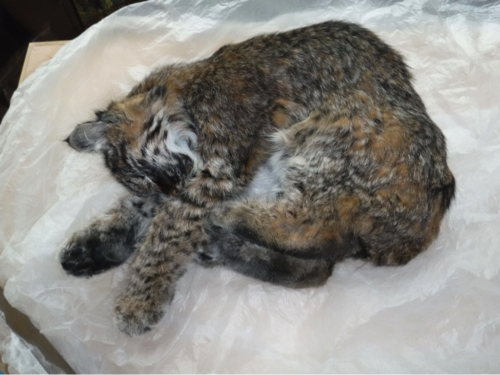
- Take frozen bobcat out of the freezer and watch Youtube videos on taxidermy for a few hours while waiting for it to “thaw.”
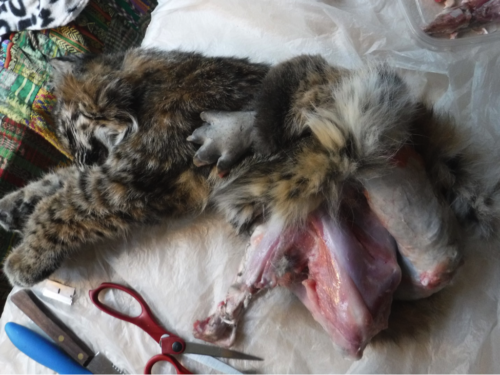
- Get impatient and decide to start the skinning process while the cat is still quite frozen. I had to remove the two back feet first since I really couldn’t move the legs. I broke a pair of scissors in the process.
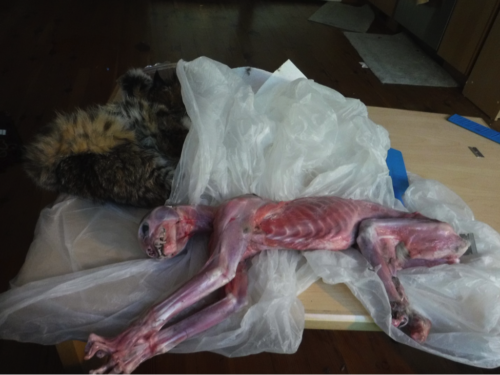
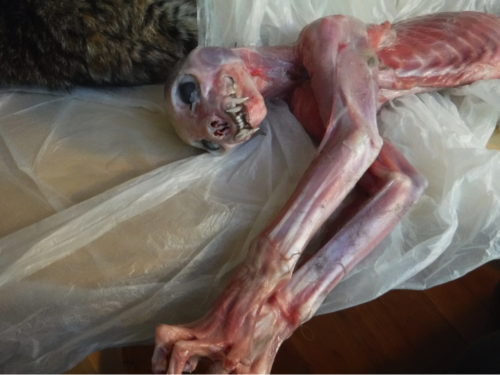
- Continue to skin the cat, removing everything but the claws. This process took me over 6 hours, and the thing still wasn’t thawed by the time I finished. Each foot, which is loaded with globs of very tough and well-attached fat under the pads, took about an hour to clean. The skinned bobcat looked more like a human than I expected… especially the “hands.” To me, this was a good reminder of how closely related we are to other mammals.
- Remove the head and collect the brains for later (no photo, darn).
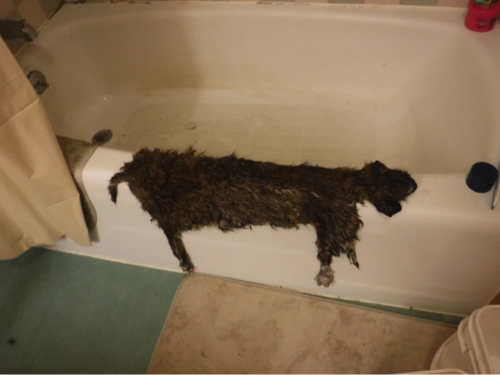
- Scrape all the little bits of muscle, fat, and connective tissue from the skin. This took a few more hours. Then I washed it and let it dry overnight.
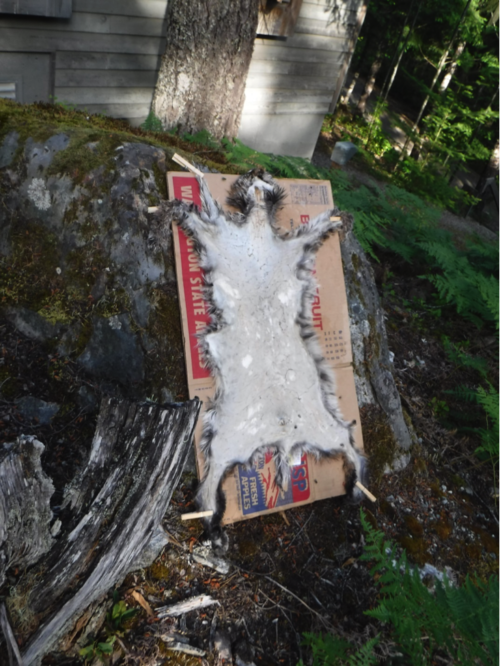
- I tanned the bobcat in a solution of brains and water. There were several cycles of applying the solution to the skin and then letting it sit in the sun. This was a 9am to 5pm job. Once the final tanning stage was done, I had to try to break all the little fibers in the hide to keep it from shrinking as it dried. I stretched it and rubbed against various objects. Once I felt it was adequately beaten up (after about 1.5 hours), I stretched it out and let it sit in what little sunlight was left in the day. After the sun dropped behind the hills, I put it under a UV light in my apartment.
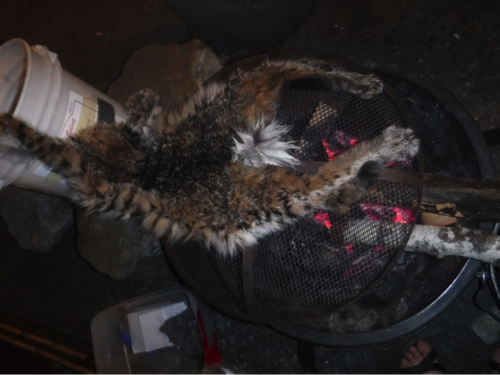
- After it was dry, I needed to smoke it as the final stage. Fun fact about me, I’m horrible at starting fires. Ideally this would have been a “cold smoke,” but I didn’t have the proper apparatus set up and it got quite a bit warmer than it should have.
- After smoking it for about an hour, it was done. It smells of wet cat and smoke. It’s very soft on top, but the skin got a bit more brittle than I would have liked. I think that’s due to the heat in the final step.
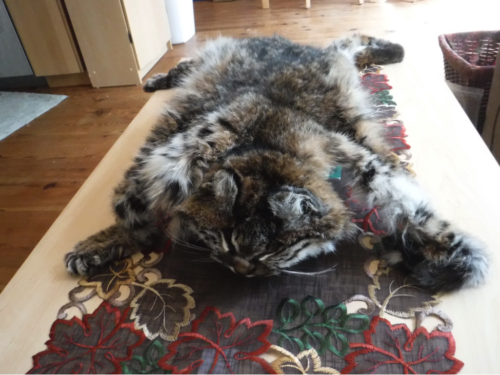
I learned so much from this experience. I now know more about the anatomy of cats (especially how claws work), how leather was traditionally made, how wonderful my roommate can be (thanks Emma for letting me do this in the apartment!), and how much I enjoy working in a way that allows me to explore my scientific and artistic self.

